The spinal countdown

Melbourne in May – it’s normally a time to hide under the doona and make huge vats of soup in an attempt to ward off the impending chill, so what am I doing in this outfit, I hear you ask. Well, I was actually all ready to do a post about coats, but thanks to climate change, the past week has been beautifully balmy, meaning no coat required and a return to spring dressing – accompanied by, for me at least, an obsession with spring cleaning and getting rid of things I don’t use. So when I rediscovered a T-shirt in my wardrobe that has, over the years, become too loose, I had to decide: make an op shop donation out of it or do a DIY makeover? As I don’t own many T-shirts but it’s the perfect weather for them right now, I went with the option of a simple, fast DIY. So simple even a kitten can do it.

All you need for this one is a baggy T-shirt, pins, needle and thread/sewing machine and some scissors. And a helper of the feline persuasion, if you happen to have one lying around. This one’s called Raavi* but more often than not is addressed as “naughty cat”.

1. Try the T-shirt on and pin down the centre back to make it more fitted. Make sure you can still take it off, don’t make it too tight! Then sew straight down the centre back in line with the pins. It will look like this (ignore the wet marks and fringey bits at the bottom, I’d just washed my hands and started hacking into the seam as per the next step when I realised I should take a photo of this step!!).

2. Cut up along the centre back fold, being careful not to cut the kitten’s tail when it inevitably finds its way into your work space.
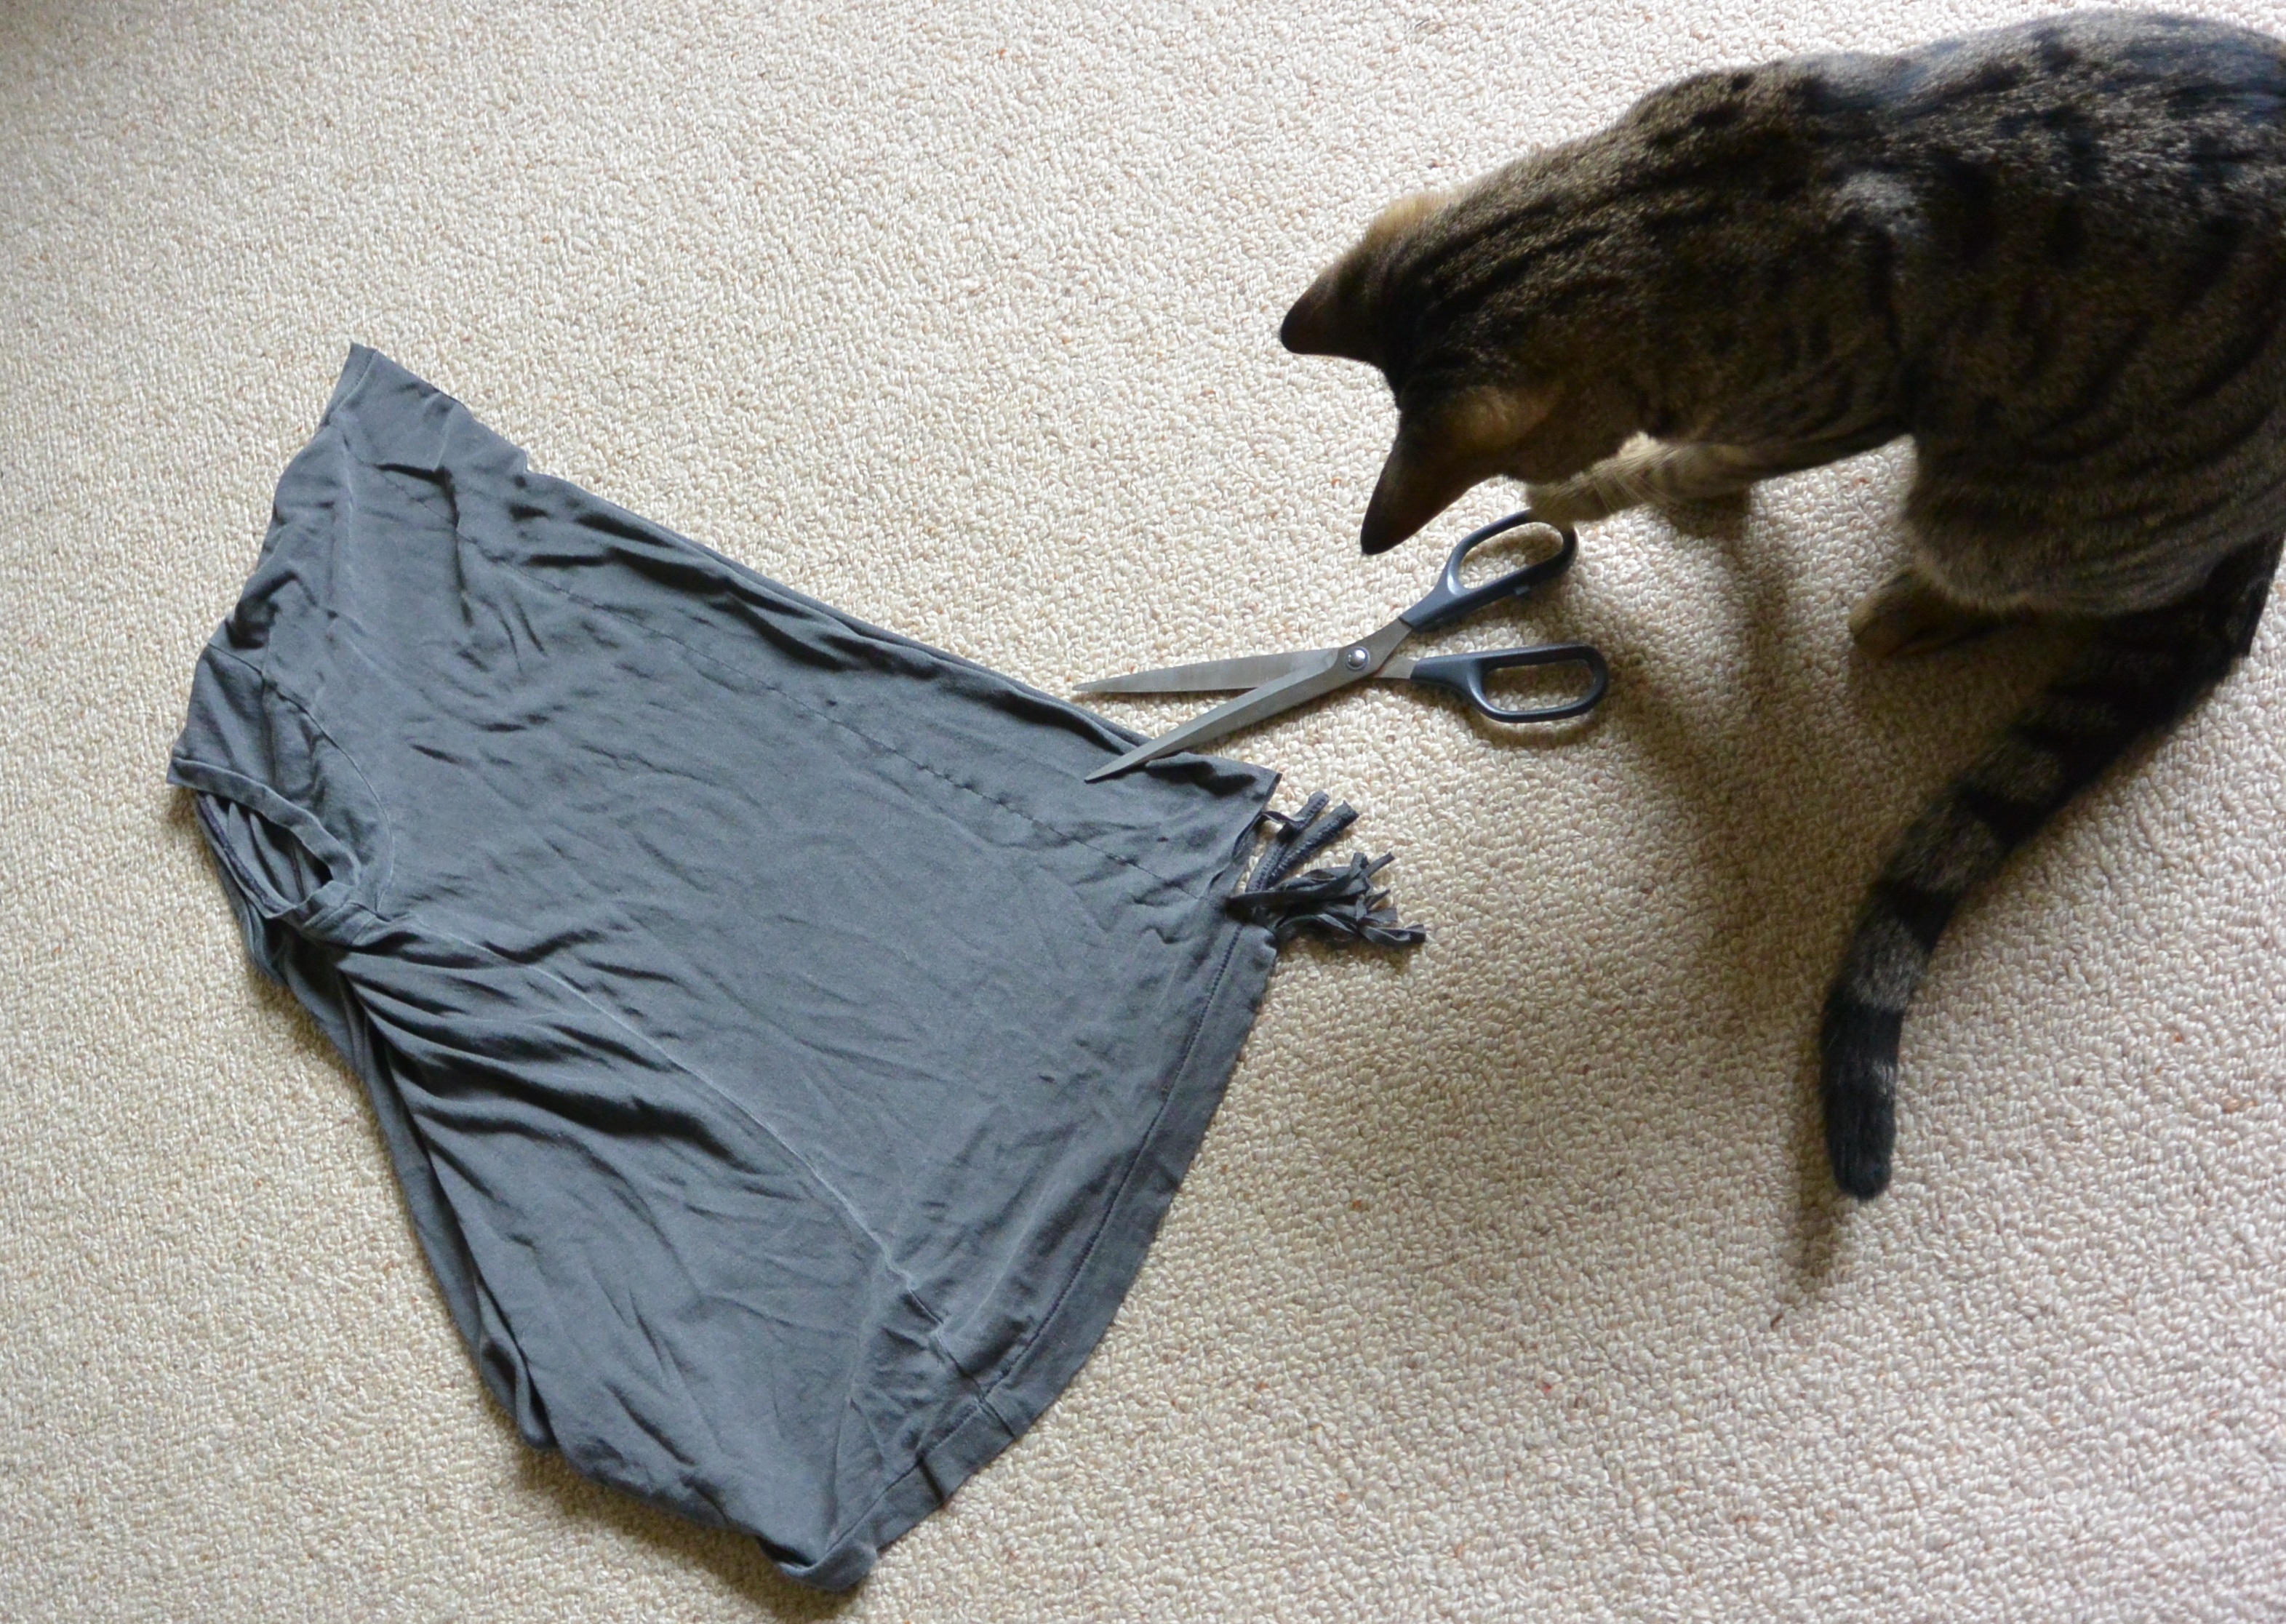
3. Cut across towards the seam, stopping just short of the stitching line, to create fringing. You can make it however wide you like, mine was about 0.5cm but there’s no need to be exact.

If you’re having trouble doing this by yourself, ask your assistant for help.
Actually, he’ll probably offer help regardless of whether you invite him to assist or not.

Raavi was very willing to pitch in until he realised his lack of opposable thumbs made it a bit tricky to operate the scissors, which is why he offered to create the fringing using his teeth instead.

I managed to convince him that I could manage most of it by myself – and here are the results.
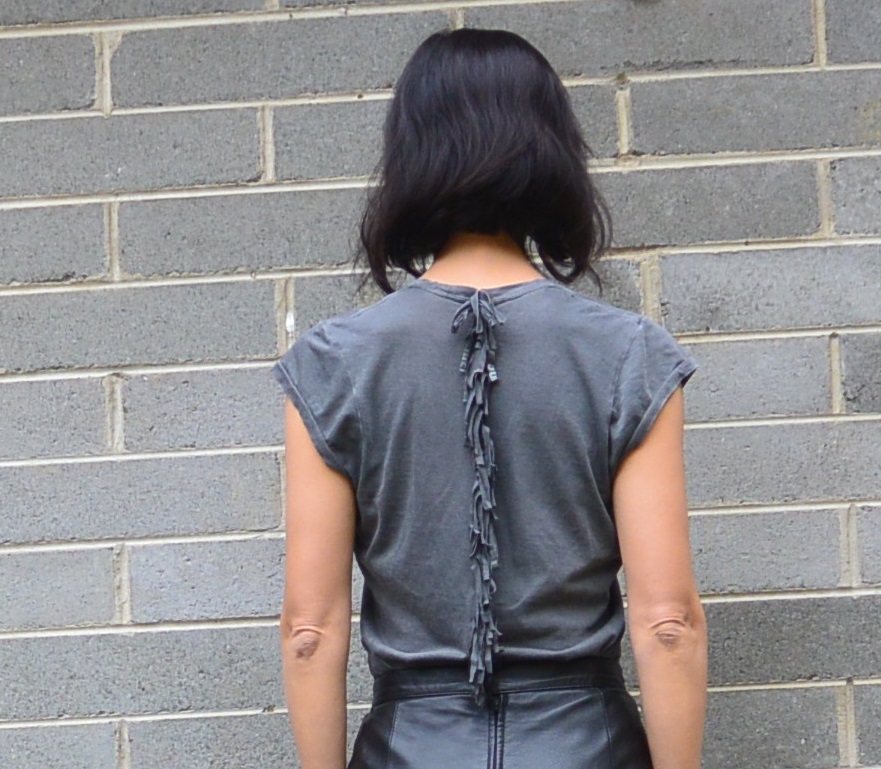
Not bad for Raavi’s first DIY!

I wanted to keep things simple (I like how this project remains plain and basic looking at the front and the detail is all on the back) but if you wanted to make even more of a spinal statement you could attach rows of ready-made fringing (in a different colour for contrast, or a similar colour to emphasise the volume) along either side of the T-shirt fringe, or use scrap material to make your own fringing (maybe even cut up another old T-shirt to do that?).

Or you could stop fiddling and leave things as they are. That way you have more time to play with kittens.
*Raavi (formerly known as Shazam) is from a wonderful place called Cat Corner. I highly recommend it if you are looking for your own little helper.
Great idea! Love Raavi, your assistant. The picture with his paw on the scissors is just so sweet!
Thank you, he was very helpful!
Let me know when you are to visit Tokyo next. I have collected some old clothes for you to see if you might be interested.
That’s so nice of you about the old clothes! I would love to see them, although I am not sure when I will be in Tokyo again 😦
Raavi’s such a pretty tabby. I can well imagine why you address him as “naughty cat”. I don’t often use Noko’s name and more often call her “sweet cat” (at 20y9m she’s too old to get into much trouble), and occasionally “silly cat”. Not that it makes any difference as she’s too deaf to hear any of it!
aww thank you! My Suki (just search Suki on this blog.. there’s a lot of posts with her in them!) lived to about that age and I still miss her 😦
i like the tshirt. but i love the kittenhelper. suki and ella would be so proud- great to see the next generation of crafting cats starting so young. after all, humans can’t be expected to try and make things without feline assistance.
>________________________________ > From: Style Wilderness >To: kmacleod74@yahoo.com.au >Sent: Monday, 19 May 2014 10:08 AM >Subject: [New post] The spinal countdown > > > > WordPress.com >leeyongsoo posted: ” Melbourne in May – it’s normally a time to hide under the doona and make huge vats of soup in an attempt to ward off the impending chill, so what am I doing in this outfit, I hear you ask. Well, I was actually all ready to do a post about coats, but t” >
Thanks Kirsty, I look forward to seeing how Vulcan and Hera are going helping you with crochet…
Pingback: Turn a too-big tube into a just-right skirt | Style Wilderness
Pingback: DIY discovery: arm knitting | Style Wilderness
Pingback: Oilskin: from ugly to ooh la la! | Style Wilderness