Huipil hack
What do you collect when you travel to remind you of your trip? For me, it’s handmade textiles, clothing and accessories that make the best souvenirs. Given the current situation (as I write, Melbourne is due to go back into another six weeks of lockdown after our recent relaxation of restrictions sparked a spike in corona cases) I suspect that it will be a while before I can go anywhere involving significant distances and cultural differences, so I’m extremely glad that I got to visit Central America last year and satisfy my craving for vintage and handmade textiles in the one hit.
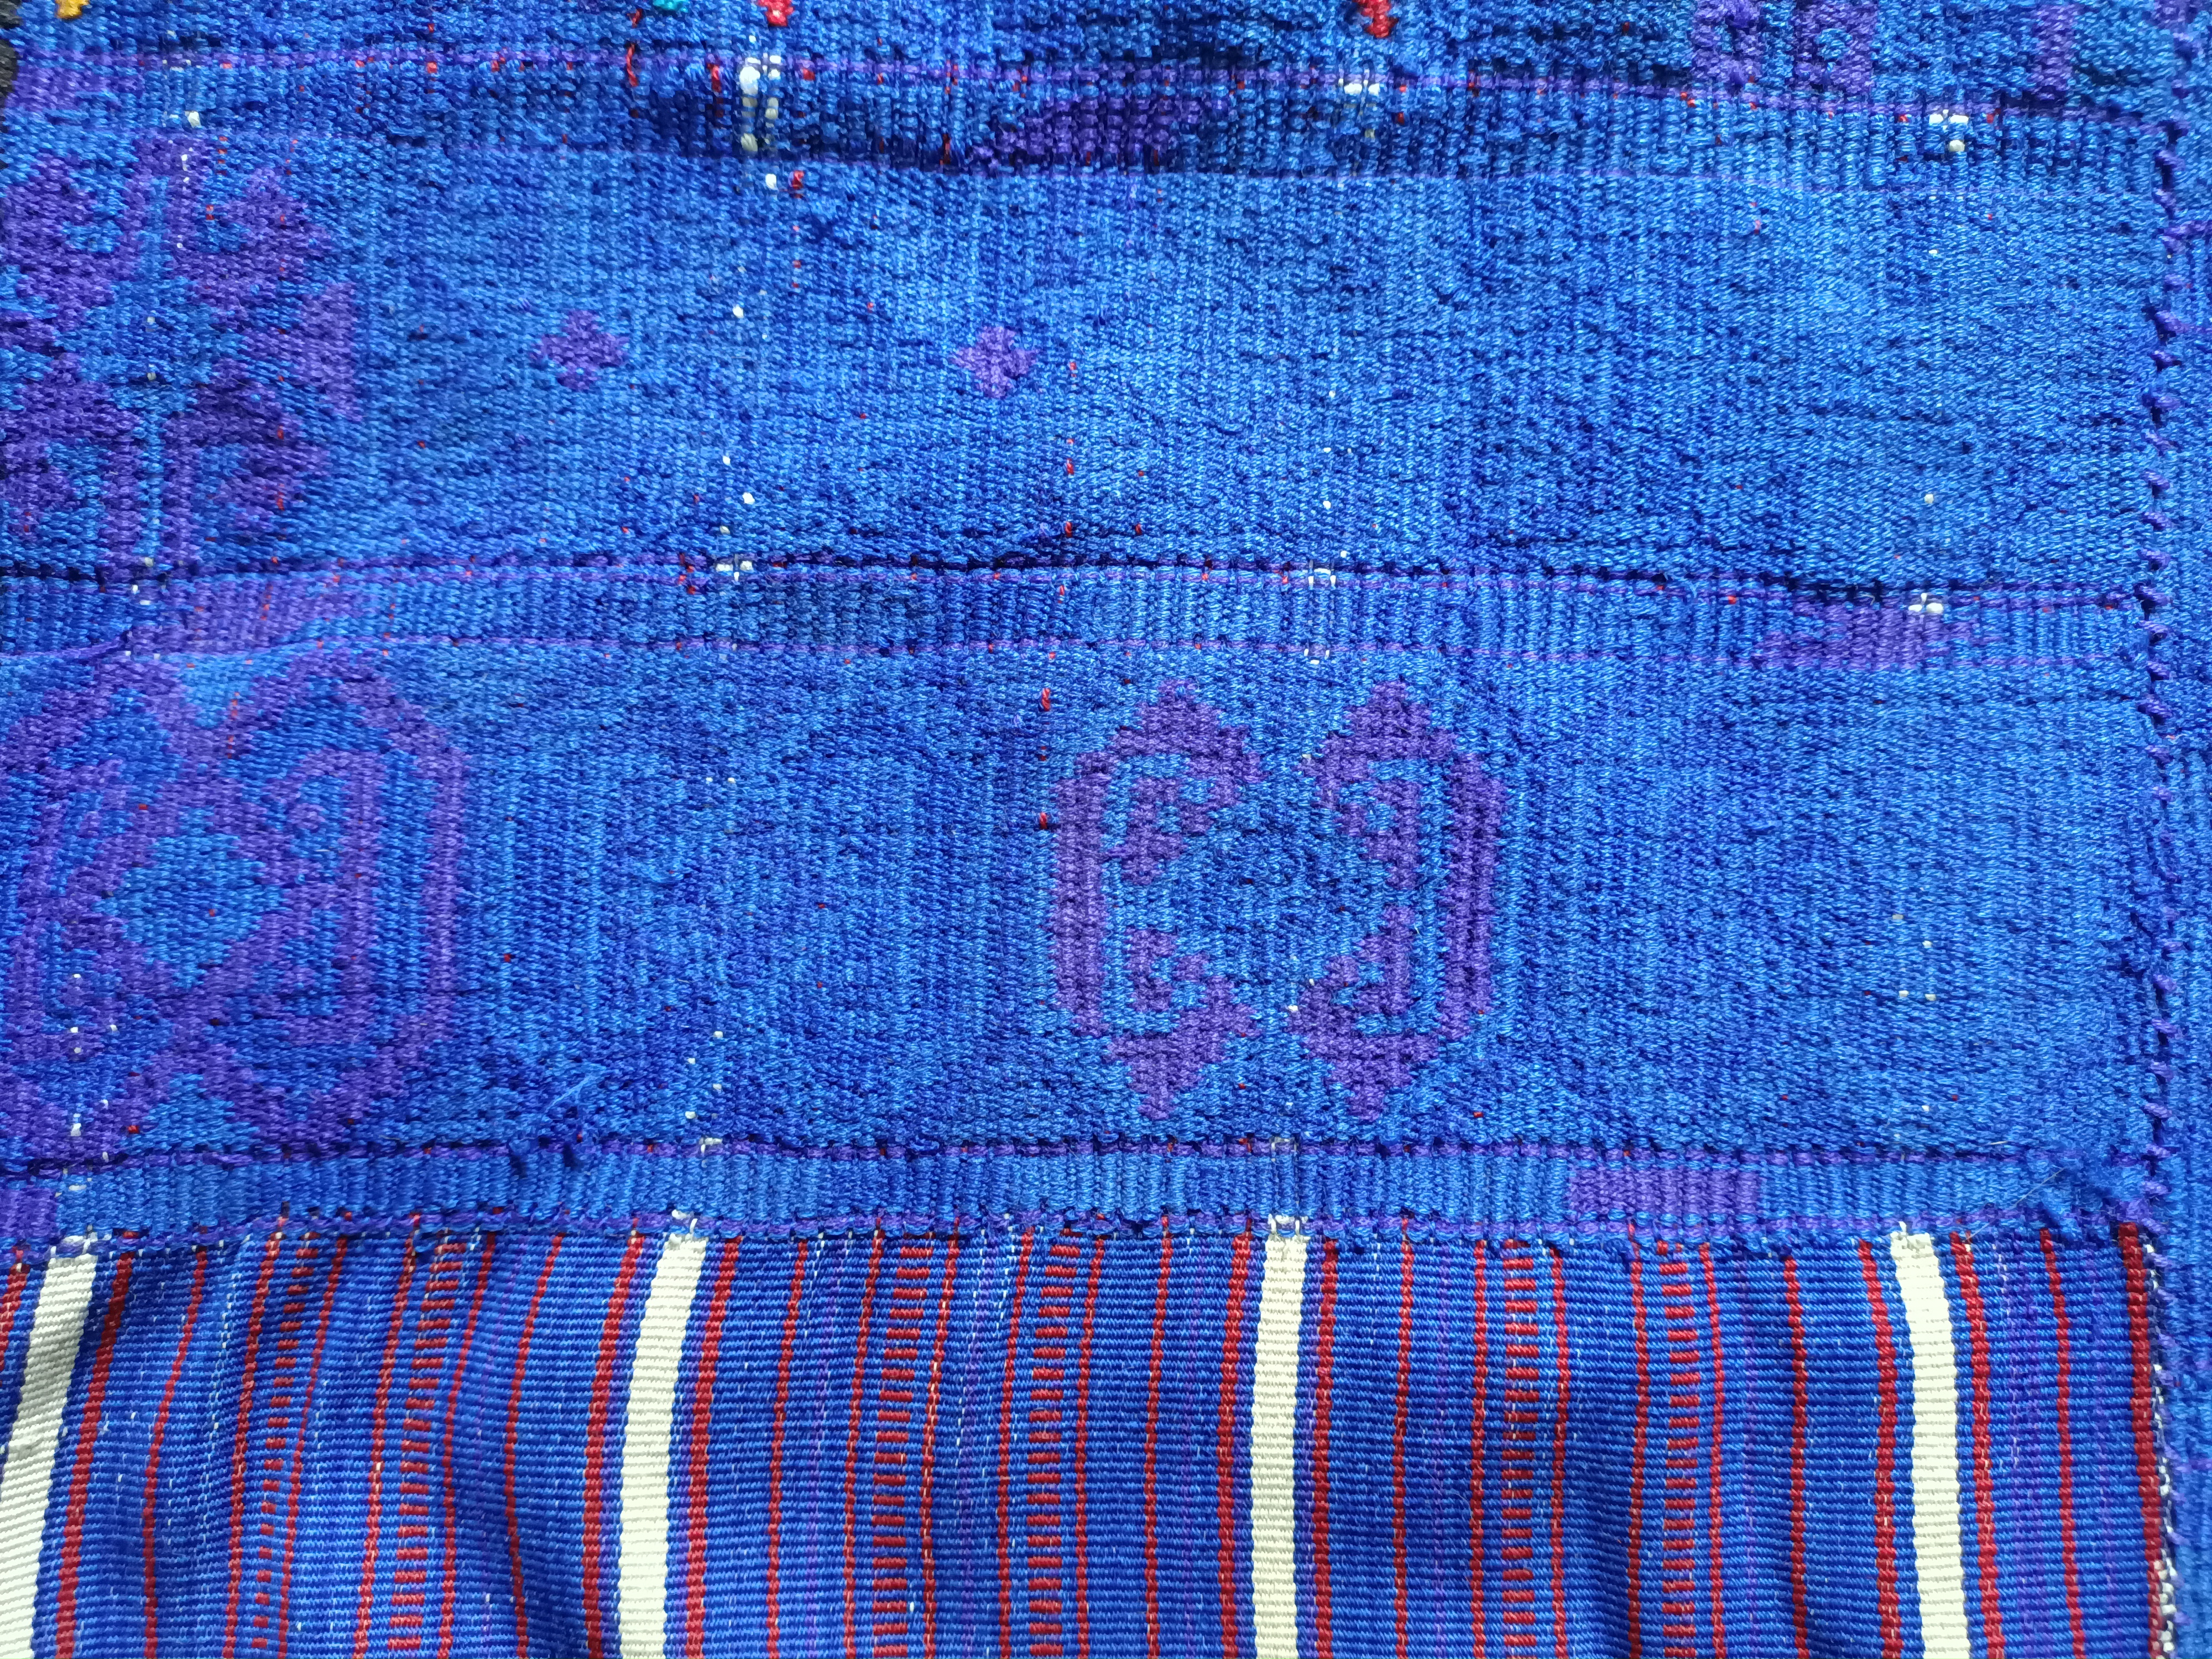
One of the pieces I bought was this blue huipil (traditional tunic).

It’s made of three woven panels which have been stitched together to form a long rectangle with a hole for the head, and then the sides have been stitched together with openings left for the arms – the simplest kind of garment that could be made from several pieces of woven fabric.
Although it’s so simple, I’m still puzzled about a few things, such as whether the yoke is embroidered or was woven along with the body of the garment.
Here’s a close up of the yoke section from the right side of the garment:
…and from the inside:

I have a feeling the body of the huipil wasn’t handwoven but rather woven by machinery, and the yoke was then embroidered on over the top, but it’s very dense and I’m really no expert on weaving or embroidery so I can’t tell. As I said in this post, I don’t have much information about this huipil in terms of construction, where in Guatemala it is from or anything like that, so if you have any ideas, let me know!
If you’re as clueless as I am, simply read on about how I’ve altered it to make it more wearable in a western context.

The first thing I had to do was cut into the neckline so I could actually get the garment over my head! I snipped vertically down the front and as I didn’t have any black yarn to do buttonhole stitching around the edge to match the original finishing, I covered it in bias binding instead.

Now that I was able to get the huipil on, I tried it to see what kind of changes I could make. It was a bit too short to wear at its original length, so I added a flounce to the hem from some corduroy-like fabric in my stash that just happened to be nearly the same colour as the yoke (I knew I had kept that fabric for years for some reason!). When a garment is so plain and unfitted in construction, I feel like adding volume and a bit of frilliness instantly transforms it, and in this case makes it more like a dress worn in the west than its original silhouette.

As the huipil was literally rectangular in shape (as you can see from the photo above!), I needed to take each seam in slightly so that it tapered towards the hem. Otherwise the hemline would have swayed out too far and at awkward angles. The tapering gives it a more flattering look a la the below (even though I am standing weirdly!).

I had to fiddle around with where to place the flounce because when a garment is rectangular, the sides hang down lower than the back and front, so you can’t just attach the flounce evenly all around the hemline. Plus, the hemline wasn’t exactly even to begin with. It’s probably not perfect now, either, but the volume of fabric and frilliness means the flounce tends to swish around a lot so no one will notice if it’s not too precise.

Anyway, there you have it – a traditional tunic that is now a roomy dress perfect for layering, and (somewhat ironically) probably comfortable enough to wear for hours on a plane the next time I go looking for treasures overseas.