Denim DIY
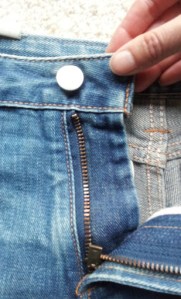
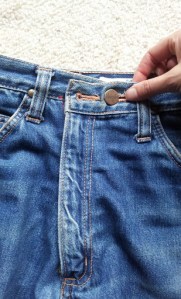
I unpicked this part of the fly …
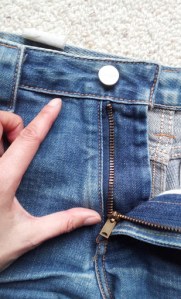
… folded it in to where my finger is pointing and restitched it so that the zip does up further in along the waistband. In the pic below you can see the line of red stitching next to the zip. That’s the new stitching line that I made. You can also see where the jeans originally did up as I’m holding the original buttonhole…
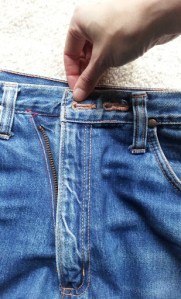
… but I made another buttonhole so the jeans would fit my waist.
Why didn’t I just move the button, I hear you ask… that’s a very good question! it would have been much easier, but I would have still had to move the zip, and well, those stud kind of buttons are pressed very firmly into the fabric and it would have left a big hole if I had somehow managed to get it out!
So there you have it. A kind of tricky way to do something easy. Is that what you’d call a DIY fail?? I don’t think so, because this kind of refashioning would work on any pants or shorts that you want to make about 5cm more fitted. So if you’ve got some baggy jeans and an unpicker lying around give it a go!
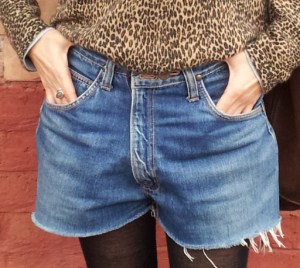
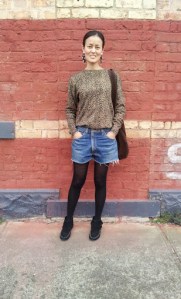
On a side note, my animal print sweater and suede mocassins are both op shop finds, and I made my earrings myself from op shop clip-ons and parts I bought in Thailand! Total cost of this outfit – about $20 – oh, and $40 for the suede bag which I got at Lost and Found.
このブログではドレスアップした時の写真は多いけれど、もちろんいつもそういう格好をしているわけではありません。今、彼氏と家を買おうとして毎週末いろんな物件を見回っているから、ドレスより楽な格好がありがたい。このデニムのショーツは夏ならそのままで、冬ならタイツの上にはいているからかなり便利なアイテムです。東京のシカゴで買ったけど、自分サイズではなくて、わざと大きすぎるジーンズを買ってちょっと作り直しました。ジッパーの片側をリッパーで解いて、ウェストサイズに合わせた位置に縫い留めました。そして元のボタンホールの隣にもう一つのボタンホールを作ったら、ショーツが自分サイズのルースフィットになりました。普段のデニムショーツは切っちゃうだけで作業終了だからこのショーツの変え方は複雑に見えるでしょね!でもルースフィットでカジュアルなショーツが欲しければ、このDIY、トライして!
Nice one, I'd not have thought to create a new button hole myself, this is a neat little trick!
Pingback: Denim skirt from stash scraps | Style Wilderness
Pingback: From scraps to skirt | Style Wilderness